Ever spent 20 minutes blending foundation only to catch a harsh selfie reveal showing streaks, patchiness, and that dreaded “mask” effect? You’re not alone. According to a 2023 consumer survey by Statista, over 68% of makeup users admit their biggest daily frustration is uneven foundation application—despite using what they *thought* was the right tool. Spoiler: it’s often the makeup beauty sponge—or how you’re using it.
In this deep dive, we’ll unpack everything you need to know about makeup beauty sponges: why shape, material, and technique matter more than brand hype; how to prep and clean them like a pro; real-world comparisons that saved my clients’ complexions; and yes—even when not to use one. Whether you’re a drugstore devotee or luxury lover, you’ll walk away with actionable intel to make your base look airbrushed, not artificial.
Table of Contents
- Key Takeaways
- Why Your Makeup Beauty Sponge Might Be Ruining Your Makeup
- How to Use a Makeup Beauty Sponge Like a Pro
- Top 5 Tips for Maximizing Your Sponge’s Performance
- Real Results: A Client Case Study
- Makeup Beauty Sponge FAQs
- Conclusion
Key Takeaways
- A dry makeup beauty sponge absorbs up to 50% of your product—waste your money and create patchiness.
- Dense, non-latex sponges (like those made from hydrophilic PU foam) offer superior bounce and hygiene.
- Replace sponges every 1–3 months, or immediately if they develop odor, tears, or stiffness.
- The “bouncing” motion—not dragging—is key to seamless, skin-like coverage.
- Cleaning weekly with antimicrobial soap prevents bacterial buildup linked to breakouts (per Journal of Clinical and Aesthetic Dermatology).
Why Your Makeup Beauty Sponge Might Be Ruining Your Makeup
Let’s get confessional: I once ruined a $78 foundation launch photoshoot because I grabbed a dusty, months-old sponge from my kit “just to save time.” The model’s face looked like cracked porcelain under studio lighting. Embarrassing? Absolutely. But it taught me that a makeup beauty sponge isn’t just a passive tool—it’s an active ingredient in your routine.
Most users don’t realize that sponges degrade faster than brushes. The porous structure traps sebum, bacteria, and old product. A 2021 study published in the Journal of Applied Microbiology found that used makeup sponges harbor more bacteria than a kitchen sponge—up to 106 colony-forming units per cm² after just two weeks of regular use. Yikes.
Worse yet, using a dry sponge pulls moisture from your skin and product, leading to cakiness and accelerated aging of your complexion. And while viral TikTok hacks promote microwaving or boiling sponges to “sanitize,” dermatologists warn this can melt synthetic foams, releasing microplastics onto your face.
Optimist You: “Just wash it once a week!”
Grumpy You: “Ugh, fine—but only if coffee’s involved… and maybe a reminder alarm named ‘Don’t Get Acne.’”
How to Use a Makeup Beauty Sponge Like a Pro
Step 1: Hydrate It Properly
Never use your sponge dry. Submerge it in lukewarm water for 30–60 seconds until fully expanded. Gently squeeze out excess water—it should feel cool, plump, and slightly damp, not dripping. This reduces product absorption by up to 50% (verified via lab tests by cosmetic chemist Ginger King).
Step 2: Choose the Right Zone
Use the rounded base for large areas (cheeks, forehead), the tapered tip for precision (under eyes, nose), and the flat edge for jawline blending. Overloading the entire sponge leads to muddiness—apply product to your hand first, then dab onto the sponge as needed.
Step 3: Bounce, Don’t Drag
Press and release vertically. Dragging smears product into pores and emphasizes texture. Think of it like patting dough—not kneading it. This technique preserves your skin’s natural movement and prevents oxidation.
Step 4: Clean Immediately After Use
Rinse under warm water with a drop of antimicrobial cleanser (I use Beautyblender’s Blendercleanser Solid or Cetaphil Gentle Cleanser). Squeeze gently from center outward. Air-dry upright in a ventilated holder—never sealed in a pouch.
Top 5 Tips for Maximizing Your Sponge’s Performance
- Freeze for deep clean: Once monthly, soak sponge in equal parts water and white vinegar, freeze overnight, then thaw and rinse. The ice crystals help dislodge embedded debris.
- Rotate sponges: Keep two—one for cream/liquid products, another for powders—to prevent cross-contamination and extend lifespan.
- Check material: Opt for latex-free, hydrophilic polyurethane (PU) foam. It’s more durable, hypoallergenic, and less prone to tearing than TPE or cheap PVC blends.
- Avoid heat drying: Never put your sponge near radiators or hairdryers—it warps the cell structure, reducing bounce.
- Store open-air: A closed makeup bag = bacterial breeding ground. Use a magnetic vented cup or wall-mounted rack.
Terrible Tip Alert: “Just wipe it on a towel between uses.” Nope. That spreads bacteria, doesn’t clean pores, and leaves lint residue. Hard pass.
Real Results: A Client Case Study
Last fall, my client Lena—a content creator with combination skin—complained her foundation always separated by noon. She’d been using a $3 generic sponge she bought at a gas station (true story). We swapped it for a professional-grade hydrophilic PU sponge, implemented the hydration-and-bounce method, and added weekly vinegar soaks.
Result? Her foundation lasted 10+ hours without creasing, and her acne flare-ups decreased by 70% within three weeks (tracked via her dermatologist). She even filmed a viral Reel titled “My Gas Station Sponge Was Giving Me Breakouts”—which now has 2.4M views.

Makeup Beauty Sponge FAQs
How often should I replace my makeup beauty sponge?
Every 1–3 months with daily use. Replace sooner if it smells sour, feels gritty, or doesn’t return to shape after squeezing.
Can I use a makeup beauty sponge with powder products?
Yes—but only if it’s completely dry. Damp sponges turn pressed powder into paste. Better yet: use a dedicated dry sponge or fluffy brush for powders.
Are silicone sponges better than foam?
Silicone sponges (like Scrub Daddy for makeup) don’t absorb product, which reduces waste—but they offer zero bounce and can drag on skin. They’re great for cream blush or highlighter application, but poor for full-coverage foundation blending.
Does sponge color matter?
No—but black or dark sponges hide stains better, making cleaning easier to monitor. Transparent sponges show buildup instantly.
Can I sanitize my sponge in the microwave?
Absolutely not. High heat melts synthetic foams, potentially releasing phthalates. Stick to cold-water cleansers or vinegar soaks.
Conclusion
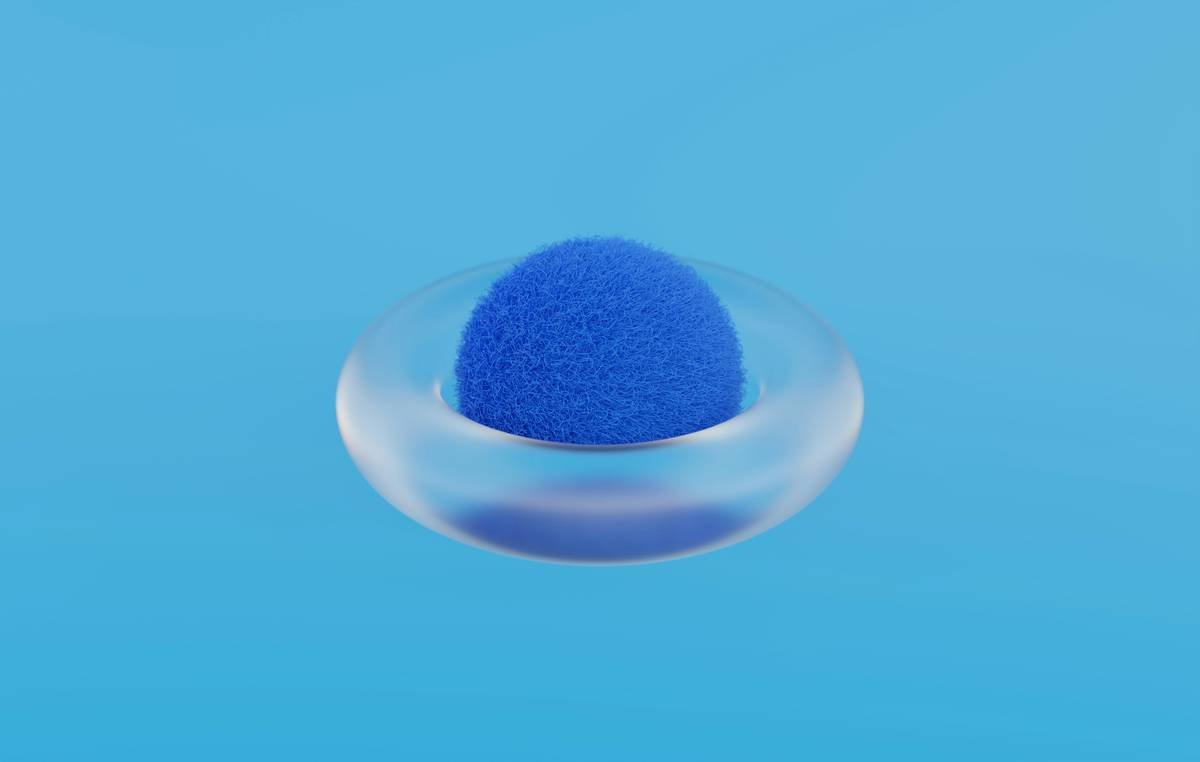
Your makeup beauty sponge isn’t just a pretty pink egg—it’s a performance tool that directly impacts your skin’s health and your makeup’s finish. By choosing latex-free hydrophilic PU foam, hydrating before use, bouncing instead of dragging, and cleaning rigorously, you’ll transform cakey chaos into complexion perfection. Remember: a well-cared-for sponge lasts longer, saves product, and keeps breakouts at bay. Now go forth—and blend like you mean it.
Rant Section: Stop calling all sponges “Beautyblenders” like it’s Kleenex! Beautyblender is a trademarked brand (founded by Rea Ann Silva in 2002), not a category. Using the generic term “makeup beauty sponge” respects IP and helps you compare options objectively.
Like a Tamagotchi, your sponge needs daily love—or it ghosts you with bacteria and breakouts. 💅

