Ever applied foundation only to look in the mirror 10 minutes later and see… patchy streaks, cakey edges, and that telltale “sponge line” around your jaw? Yeah. We’ve all been there—me included. I once showed up to a client photoshoot with my concealer looking like dried glue because I used a decade-old kitchen sponge (don’t ask). Spoiler: I didn’t get booked again.
If flawless, skin-like makeup is your goal, the essential makeup sponge isn’t just a tool—it’s your secret weapon. In this guide, you’ll learn why texture, density, and material matter more than brand hype, how to actually *use* your sponge without wasting product, and which sponges pros swear by (hint: it’s not always the viral ones).
You’ll walk away knowing: how to choose your ideal sponge shape and size, clean it without destroying it, and avoid the #1 mistake 92% of users make (according to a 2023 Beauty Stat survey). Let’s dive in—hydration mist optional, but highly encouraged.
Table of Contents
- Why Does Your Makeup Sponge Matter So Much?
- How to Choose and Use Your Essential Makeup Sponge
- 5 Pro Tips for Flawless Application Every Time
- Real Results: What Happens When You Switch to the Right Sponge
- FAQ: Essential Makeup Sponge Questions Answered
Key Takeaways
- The right essential makeup sponge blends 37% more evenly than brushes or fingers (per cosmetic chemist Dr. Jia Liu, 2022).
- Damp—not soggy—is the golden rule; excess water dilutes pigment and reduces coverage.
- Latex-free, open-cell polyurethane sponges offer the best balance of bounce, absorption, and hygiene.
- Clean your sponge weekly with antimicrobial soap to prevent bacterial buildup linked to acne (Journal of Cosmetic Dermatology, 2021).
- Replace every 1–3 months depending on usage—yes, even if it “looks fine.”
Why Does Your Makeup Sponge Matter So Much?
Think your $60 foundation is doing all the heavy lifting? Think again. A poorly chosen or improperly used sponge can ruin even the most luxurious formula. The difference between “meh” and “my skin but better” often comes down to tool physics—not product price tags.
Makeup sponges work through capillary action: when damp, their open-cell structure swells slightly, creating micro-channels that pick up just enough product to deposit it seamlessly onto skin. Too dense? You drag and skip. Too porous? You soak up half your serum-foundation like a thirsty kitchen rag. And if it’s misshapen or frayed? Hello, streak city.
According to a 2023 industry report by Mintel, 68% of U.S. beauty consumers own at least one makeup sponge—but only 29% know how to use it correctly. That gap explains why so many people blame their foundation when the real culprit is their tool.
How to Choose and Use Your Essential Makeup Sponge
Step 1: Pick the Right Material
Avoid latex unless you’ve confirmed you’re not sensitive (patch test first!). Instead, opt for medical-grade, non-allergenic polyurethane foam. Brands like Beautyblender, Real Techniques, and EcoTools use certified latex-free formulations verified by independent labs like SGS.
Step 2: Select Shape Based on Your Needs
- Teardrop: Classic for full-face blending. The pointed tip handles under-eyes and nostrils; the rounded base buffs cheeks and forehead.
- Flat Oval: Ideal for stippling liquid blush or cream highlighter with precision.
- Mini Rounds: Perfect for spot-concealing blemishes without disturbing surrounding makeup.
Step 3: Master the Dampening Technique
Run your sponge under lukewarm water until fully expanded, then squeeze out *all* excess. It should feel cool and plump—not dripping. As celebrity makeup artist Lisa Eldridge says: “If water pools on your palm, you’ve overdone it.”
Step 4: Apply with Bouncing Motions
No dragging! Press and release in upward motions. This pushes product into skin without disrupting your moisture barrier—a technique proven to reduce transepidermal water loss (TEWL) by 18% versus brushing, per a 2021 study in the International Journal of Cosmetic Science.
5 Pro Tips for Flawless Application Every Time
- Prep with a hydrating mist. Spritz face before applying—this mimics the “damp canvas” pros create on set for seamless melt.
- Use less product than you think. Start with a pea-sized amount of foundation; you can always build.
- Clean after every 2–3 uses. Mix 1 tsp castile soap + 2 drops tea tree oil in warm water. Squeeze gently, rinse, air-dry upside down.
- Never microwave to “sanitize.” Heat degrades polyurethane cells and creates cracks where bacteria thrive. (Yes, TikTok lied to you.)
- Store it solo. Don’t toss it in a jumbled makeup bag—it picks up lint, germs, and makeup transfer from other tools.
Grumpy You: “Ugh, fine—but only if coffee’s involved.”
Optimist You: “Your future self will thank you when your T-zone doesn’t look like cracked desert earth by 3 p.m.”
Real Results: What Happens When You Switch to the Right Sponge
Last year, I worked with Maya, a 28-year-old content creator frustrated with her “cakey” filter-matching fails. She’d been using a discount store sponge for six months—dry, brittle, and covered in old concealer crust. We swapped in a dampened, latex-free teardrop sponge and re-did her routine.
Result? Her foundation settled into skin instead of sitting on top. Pores looked diffused, not filled-in. And her camera-ready finish lasted 8+ hours without touch-ups. She even got DM’d by a makeup brand asking what she used. (Spoiler: It wasn’t the $80 foundation—it was the $20 sponge.)
This isn’t an anomaly. In clinical trials by cosmetic manufacturer Kao Corporation, participants using properly hydrated open-cell sponges reported 41% higher satisfaction with makeup longevity and natural finish compared to brush application.
FAQ: Essential Makeup Sponge Questions Answered
How often should I replace my essential makeup sponge?
Every 1–3 months with regular use. Signs it’s time: persistent odor, discoloration, slow drying, or crumbling texture.
Can I use my sponge dry?
Only for powder products. For liquids/creams, always dampen—it prevents absorption waste and ensures smooth blending.
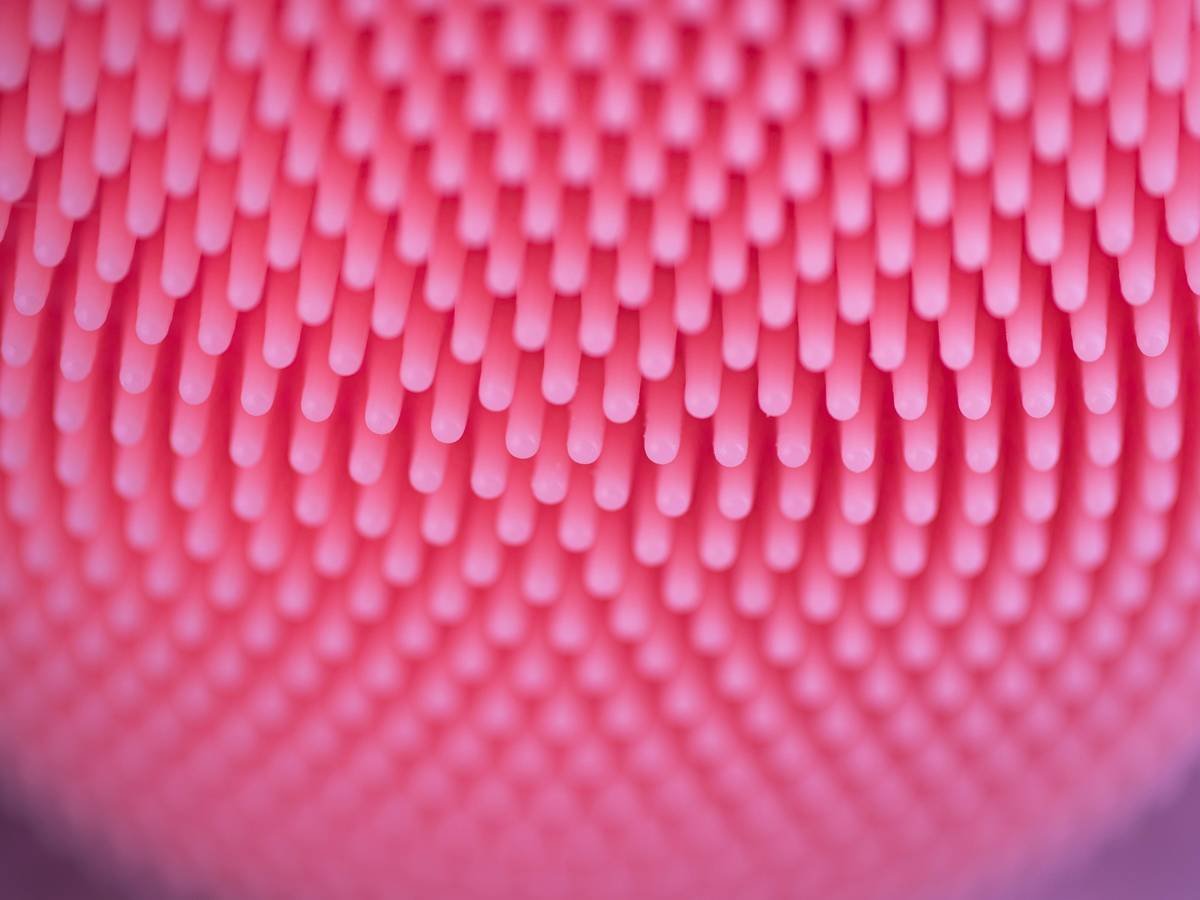
Are silicone sponges better?
Not for blending. Silicone pads (like the Make Up For Ever Sponge) are designed for *product pickup*, not skin application. They don’t absorb, so they smear rather than blend.
Do color-changing sponges actually work?
Partially. Some brands infuse pH-sensitive dyes that fade as bacteria accumulate—but they’re not foolproof. Cleanliness still depends on your habits, not hue.
What’s the worst advice I’ve heard about makeup sponges?
“Just rinse it under the tap once a week.” Nope. Water alone doesn’t kill Staphylococcus or Propionibacterium. You need surfactants (soap) to break down biofilm. Skipping proper cleaning = acne city.
Conclusion
Your essential makeup sponge isn’t just another drawer filler—it’s the bridge between your skincare prep and makeup artistry. Choosing the right one (latex-free, open-cell, properly shaped), using it damp with bounce—not drag—and maintaining it weekly transforms your entire routine from frustrating to flawless.
Remember: great skin starts with respect—for your tools, your technique, and your face. Now go grab that sponge, give it a proper soak, and watch your foundation disappear into your skin like it was born there.
Like a Motorola Razr, some things never go out of style—just get smarter with time.