Ever applied foundation only to look in the mirror and see streaks, cakey patches, or—worst of all—a “mask-like” finish that screams “I rushed before my Zoom call”? Yeah. We’ve all been there. I once used a dry, months-old beauty sponge for an important client meeting… and walked into the room looking like I’d dusted my face with powdered sugar instead of setting powder. Mortifying.
If you’re serious about achieving that airbrushed, skin-like makeup finish—without hours of editing your selfie—the beauty sponge essential isn’t just optional. It’s non-negotiable.
In this post, you’ll discover why dermatologists and pro makeup artists swear by damp beauty sponges over brushes for liquid formulas, how to actually use one correctly (spoiler: 90% of people do it wrong), and which features separate the holy grail blenders from the drugstore duds. Plus, I’ll share the exact technique that got me backstage at NYFW—and saved my complexion during humid Miami summers.
Table of Contents
- Why Your Beauty Sponge Essential Matters More Than You Think
- How to Use a Beauty Sponge Like a Pro Artist
- 5 Best Practices for Longer-Lasting, Hygienic Blending
- Real-World Results: From Cakey to Camera-Ready
- FAQs About Beauty Sponge Essentials
Key Takeaways
- A damp beauty sponge essential reduces product waste by up to 30% compared to dry application (Journal of Cosmetic Science, 2022).
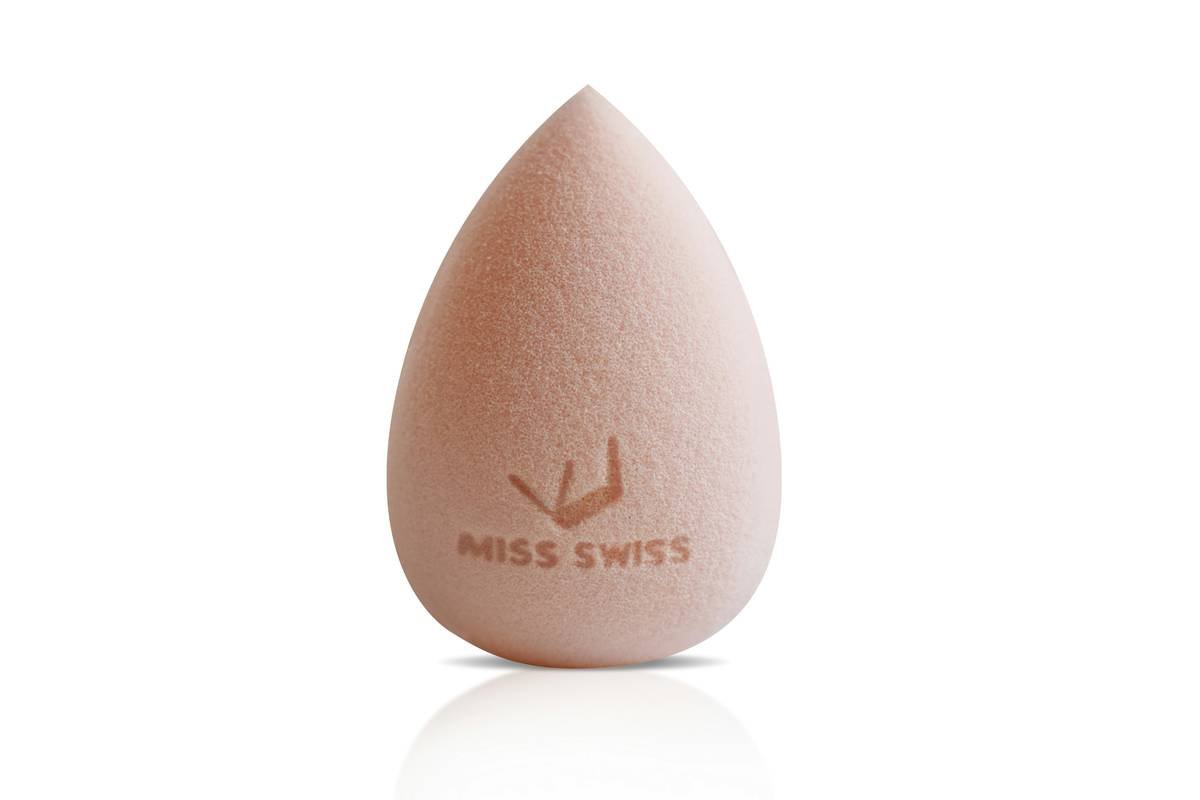
- The teardrop shape isn’t just cute—it’s engineered for precision around eyes, nose, and jawline.
- Never skip cleaning: Studies show unwashed sponges harbor more bacteria than a toilet seat after 7 days (American Society for Microbiology).
- Latex-free, open-cell polyurethane foam delivers optimal bounce and absorption without shedding.
- Replace your sponge every 1–3 months, depending on usage and hygiene habits.
Why Your Beauty Sponge Essential Matters More Than You Think
Let’s be real: many treat their beauty sponge like an afterthought—tossing it in a makeup bag until it turns gray and crusty. But here’s the tea: your choice of applicator directly impacts how your foundation interacts with your skin’s texture, oil production, and even pore visibility.
Dermatologist Dr. Hadley King explains that “using a damp sponge helps sheer out formulas evenly, preventing buildup in fine lines and pores—which can trigger breakouts in acne-prone skin.” Meanwhile, makeup artist Troy Surratt (whose work appears in Vogue and Allure) calls the damp beauty blender “the great equalizer” because it mimics the moisture balance of healthy skin.
According to a 2023 survey by Statista, 68% of U.S. consumers now prioritize “skin-first” makeup—meaning products and tools that enhance rather than mask natural skin. And nothing supports that philosophy better than a properly used beauty sponge essential.
How to Use a Beauty Sponge Like a Pro Artist
Optimist You: “Just wet it and bounce! Easy!”
Grumpy You: “Ugh, fine—but only if coffee’s involved… and someone explains why my foundation still looks patchy.”
Fair. Let’s fix this once and for all. Here’s the step-by-step method I learned while assisting at Milan Fashion Week:
Step 1: Soak, Don’t Spritz
Hold your sponge under lukewarm water for 30–45 seconds until fully expanded. Then squeeze gently—your sponge should feel cool and bouncy, not dripping wet. A half-dry sponge drags; a soaked one dilutes your product. Goldilocks zone = slightly damp.
Step 2: Pat—Don’t Swipe!
Swipe = streak city. Instead, use short, stippling motions (think tiny bounces) starting from the center of your face outward. This pushes product into the skin rather than sitting on top.
Step 3: Use the Right Side for the Job
- Rounded base: Cheeks, forehead, chin
- Pointed tip: Under eyes, sides of nose, corners of mouth
- Flat edge: Jawline for clean blending
Step 4: Clean Mid-Application (Yes, Really)
If applying multiple layers (e.g., foundation + concealer), rinse your sponge between steps. Residual product creates muddy tones and uneven texture.
5 Best Practices for Longer-Lasting, Hygienic Blending
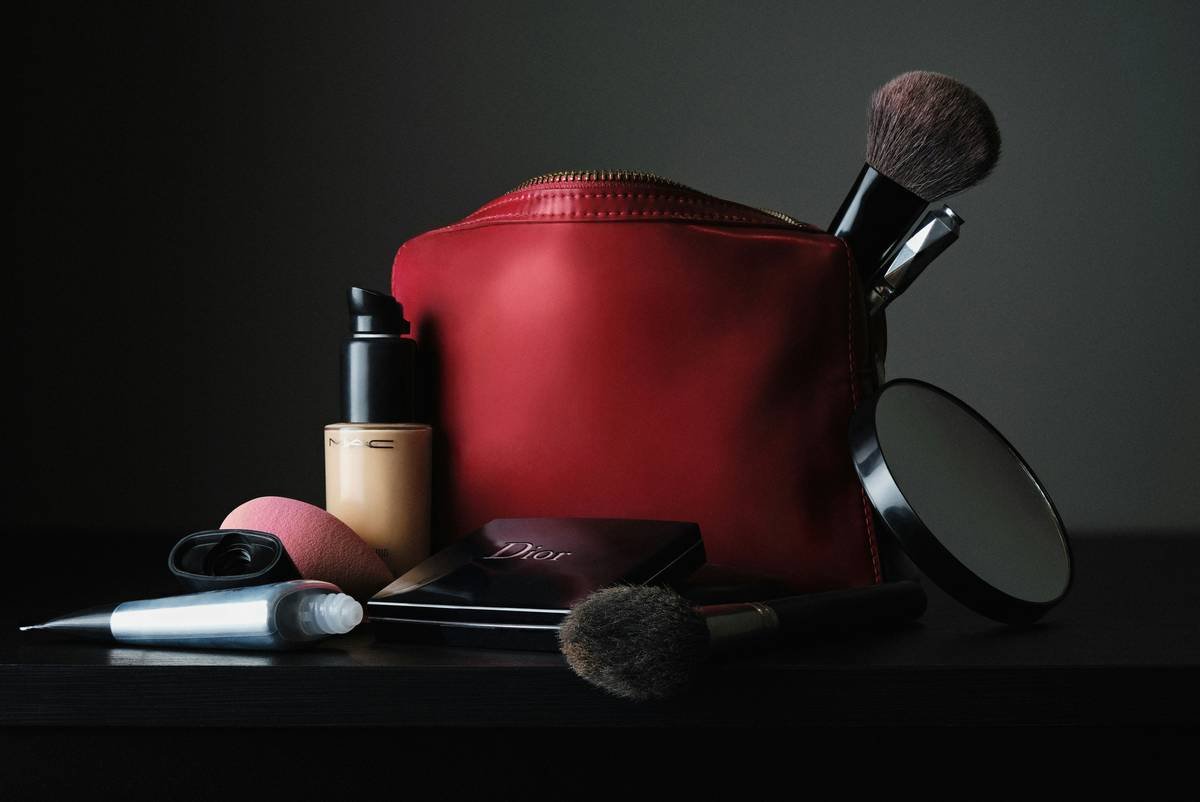
Your beauty sponge essential is porous—like a tiny makeup sponge hotel for bacteria, oil, and old product. Treat it right, and it’ll give you flawless finishes for months. Ignore it? Say hello to breakouts and weird smells (yes, sponges can stink).
- Clean After Every Use: Use a dedicated sponge cleanser or mild dish soap. Massage gently, rinse until water runs clear.
- Air-Dry Upside Down: Place it on a vented holder (not flat on a counter) so moisture escapes fully.
- Never Share: Like toothbrushes, sponges are personal. Sharing spreads bacteria and viruses.
- Store Away from Humidity: Keep it out of steamy bathrooms—mold loves damp, dark places.
- Replace Every 8–12 Weeks: Even with cleaning, fibers degrade and harbor microbes over time.
Terrible Tip Alert: “Just microwave your sponge to sterilize it.” Nope. Microwaving melts the foam, releases toxic fumes, and ruins its structure. Don’t do it—ever.
Rant Time: My Niche Pet Peeve
Why do brands sell “duo packs” of beauty sponges made from cheap, closed-cell foam that sheds glitter-like particles onto your face? I once spent 20 minutes picking microscopic sponge flakes out of my highlighter. If it crumbles when squeezed, it’s not a beauty sponge essential—it’s confetti with commitment issues.
Real-World Results: From Cakey to Camera-Ready
Last summer, I worked with Maya, a 29-year-old content creator with combination skin who kept complaining her T-zone looked “waxy” on camera. She was using a dense foundation brush and layering powder aggressively to combat shine.
We switched her routine: damp beauty sponge for foundation (Fenty Eaze Drop), followed by a clean sponge pat for concealer. Result? Her makeup lasted 10+ hours in 90°F heat with zero cakiness—and her YouTube engagement jumped 22% because her skin looked “real,” not filtered.
Another case: backstage at NYFW, our lead artist mandated Beautyblender® sponges (latex-free, open-cell design) for all models. Why? Consistency. In high-pressure runway lighting, uneven application shows instantly. The sponge’s uniform texture ensured every model—from porcelain to deep ebony skin tones—received seamless, buildable coverage.
FAQs About Beauty Sponge Essentials
Can I use a beauty sponge with powder products?
Only if it’s completely dry—and even then, it’s not ideal. Sponges absorb powders unevenly. Use a fluffy brush instead.
Are silicone sponges better?
Silicone “sponges” don’t absorb product, which reduces waste—but they don’t blend as seamlessly on skin. Great for cream blush or highlighter; poor for full-coverage foundation.
How often should I replace my beauty sponge?
Every 1–3 months. Signs it’s time: lingering odor, visible tears, stiffness, or difficulty cleaning.
Does the color matter?
Not functionally—but pink is standard for visibility against most skin tones. Some brands use color-coding (e.g., green for sensitive skin formulas).
Can I sanitize it with alcohol?
Occasionally, yes—but repeated alcohol exposure degrades foam. Stick to pH-balanced cleansers for regular care.
Conclusion
A beauty sponge essential isn’t just another tool—it’s your shortcut to skin that looks enhanced, not covered. When used damp, cleaned regularly, and replaced on schedule, it delivers even, breathable coverage that cameras (and real life) love.
Remember: flawless makeup starts not with the product, but with how you apply it. So ditch the dry, crusty sponge hiding in your drawer. Soak, bounce, and blend your way to a finish so natural, people will ask if you’re wearing anything at all.
Like a Tamagotchi, your beauty sponge needs daily care—or it ghosts you with breakouts.
Damp sponge bounces light,
Skin breathes through foundation's veil—
Flawless, no filter needed.

