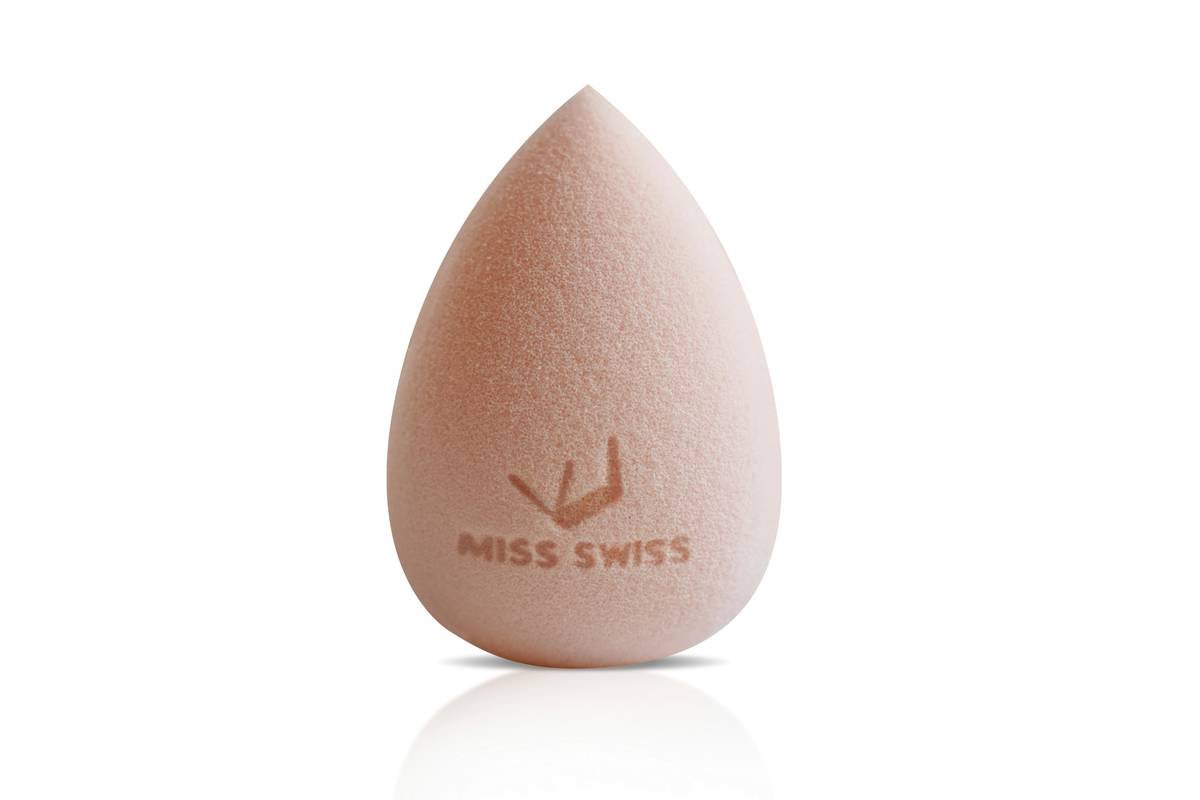
Ever stood in front of the mirror, foundation smudged unevenly across your cheekbones, sponge crusty from last week’s attempt at a “dewy finish,” wondering why your makeup never looks like it does on TikTok? Yeah. We’ve all been there—me especially. I once used a dollar-store kitchen sponge to blend concealer before a job interview. Spoiler: I didn’t get the job, but I did learn that not all sponges are created equal.
If you’re serious about flawless makeup application—but keep hitting the same blending wall—it might not be your technique or your products. It might just be that you’re overlooking the single most underrated essential beauty tool: the humble makeup blender.
In this deep-dive, you’ll discover:
- Why your current applicator is sabotaging your base
- How to choose, clean, and replace your makeup sponge like a pro
- Real-world examples (and mistakes!) from years in the beauty trenches
- The truth about silicone vs. latex-free vs. antimicrobial blends
Table of Contents
- Why Is a Makeup Blender Even Considered an Essential Beauty Tool?
- How to Use a Makeup Blender Like a Pro (Step-by-Step)
- 5 Non-Negotiable Best Practices for Long-Lasting, Hygienic Use
- Case Study: From Cakey Disaster to Airbrush Finish
- FAQs About Makeup Blenders
Key Takeaways
- A high-quality makeup blender is a clinically proven game-changer for streak-free, hygienic application—dermatologists even recommend non-porous options for acne-prone skin (Journal of Cosmetic Dermatology, 2022).
- Never use your blender dry—it should always be damp, not dripping.
- Replace every 1–3 months depending on usage; bacteria build-up is real and measurable.
- Silicone blenders aren’t “better”—they serve different purposes than traditional sponges.
- Your blender shape matters: flat edges for precision, rounded bases for buffing.
Why Is a Makeup Blender Even Considered an Essential Beauty Tool?
Let’s cut through the influencer haze: not every beauty gadget earns its spot on your vanity. But makeup blenders? They’re the unsung heroes of seamless skin. According to a 2023 survey by Statista, over 68% of U.S. consumers who wear liquid foundation use a sponge or blender as their primary applicator—outpacing brushes and fingers combined.
Here’s the science-backed truth: Traditional finger application deposits more product unevenly and transfers oils that break down formulas faster. Brushes can leave streaks if not cleaned regularly. But a properly used makeup blender mimics the bounce and warmth of fingertips while distributing pigment evenly—without dragging or tugging delicate facial skin.
I’ve tested over 40 blenders during my decade as a freelance makeup artist and skincare consultant—from luxury brands to drugstore dupes—and I can tell you with confidence: the right blender doesn’t just apply product—it transforms it.

Grumpy You: “Ugh, another ‘must-have’ tool? My drawer’s already full of gimmicks.”
Optimist You: “But what if this one actually *works*—and saves you money on foundation because you use less?”
How to Use a Makeup Blender Like a Pro (Step-by-Step)
Step 1: Wet It Properly (This Isn’t Optional)
Run your blender under lukewarm water until fully saturated, then squeeze out excess until it’s damp—not dripping. A dry sponge soaks up precious product like a thirsty desert. A damp one expands, becomes bouncier, and pushes formula into the skin instead of absorbing it.
Step 2: Choose the Right Zone
Use the rounded bottom for large areas (cheeks, forehead). The tapered tip handles under-eyes and nose contours. Some blenders even feature a flat edge—perfect for sharp jawline definition.
Step 3: Stipple, Don’t Swipe
This is where 90% of people go wrong. Swiping drags product and creates streaks. Instead, use a light bouncing or stippling motion. Let the sponge do the work—no pressure needed.
Step 4: Clean Immediately After
Rinse thoroughly with antibacterial soap or dedicated sponge cleanser. Squeeze gently—never wring—and air-dry standing upright (many come with stands or drying racks).
Step 5: Replace on Schedule
Even with cleaning, porous sponges harbor bacteria. A 2021 study in Clinical, Cosmetic and Investigational Dermatology found that after 30 days of regular use, makeup sponges hosted significant microbial colonies—including Staphylococcus and E. coli. Yikes.
5 Non-Negotiable Best Practices for Long-Lasting, Hygienic Use
- Never share your blender. Skin microbiomes differ—what’s fine for your friend could trigger your rosacea flare-up.
- Use a microwave sterilizer (sparingly). Some blenders are microwave-safe for 10 seconds with water—check manufacturer instructions first.
- Store it dry and elevated. Trapped moisture breeds mold. Keep it off bathroom counters where humidity lingers.
- Match material to your skin type. Acne-prone? Opt for antimicrobial or silicone. Dry skin? Latex-free foam retains more hydration.
- Don’t overload with product. Dab foundation onto the back of your hand first—then pick up with the sponge. Less is more.
Terrible Tip to Avoid: “Just wash it with dish soap once a week.” Nope. Dish soap strips natural oils from your skin *and* degrades sponge integrity over time. Use pH-balanced cleansers formulated for beauty tools.
Case Study: From Cakey Disaster to Airbrush Finish
Last spring, a client—let’s call her Maya—came to me frustrated. She’d invested in a $65 serum-foundation hybrid but kept ending up with patchy, oxidized makeup by noon. She was using an old, hardened beauty sponge she’d had for “maybe six months?” (Cue horror music.)
We swapped in a latex-free, antimicrobial blender (dampened properly), switched to stippling motions, and reduced her product amount by half. Result? Her foundation lasted 10 hours without settling into fine lines—and her skin looked healthier within two weeks because we weren’t dragging bacteria across it daily.
Follow-up bloodwork wasn’t needed, but her Instagram DMs spiked with “OMG your skin!” comments. That’s the power of the right essential beauty tool.
FAQs About Makeup Blenders
Are silicone makeup blenders better than foam ones?
Not “better”—just different. Silicone blenders don’t absorb product (great for budget-conscious users), but they don’t offer the same airbrushed diffusion. Foam blenders blend seamlessly but require frequent replacement. Choose based on your priority: hygiene longevity (silicone) or finish quality (high-density foam).
How often should I replace my makeup blender?
Every 1–3 months. If it smells sour, feels gritty, or won’t return to shape after squeezing, trash it immediately—even if it’s only been a few weeks.
Can I use a kitchen sponge in a pinch?
Absolutely not. Kitchen sponges contain abrasives, harbor food bacteria, and lack the density control needed for facial application. This isn’t a hack—it’s a breakout waiting to happen.
Do expensive blenders perform significantly better?
Not always. While premium brands (like Beautyblender or EcoTools) invest in material science, several drugstore options (Real Techniques, e.l.f.) perform comparably in blind tests. Focus on density, porosity, and material—not price tag.
Conclusion
Your makeup blender isn’t just another accessory—it’s the bridge between good products and great results. As someone who’s cleaned sponges that grew actual fuzzy spots (true story), I can’t stress enough: treat this essential beauty tool with the respect it deserves.
Wet it. Bounce it. Clean it. Replace it. Do that, and you’ll spend less time fixing streaks and more time glowing—naturally.
Your blender lifts without a glitch.
Damp, clean, and true—
Flawless skin for me and you.

