
Ever buffed on foundation only to end up with streaks, cakey patches, or—worst of all—that dreaded “orange peel” texture? Yeah. We’ve all been there. Spoiler: it’s probably not your foundation. It’s your beauty makeup sponge.
I’ll confess: for years, I used a random drugstore sponge I’d bought in 2016 (don’t ask). Dried out, crusty, shedding bits into my concealer… and somehow, I wondered why my skin never looked like the #makeup TikTok girls. Then I switched to a proper beauty makeup sponge—and everything changed.
In this guide, you’ll discover exactly how to choose, prep, use, and care for your beauty makeup sponge so it gives you airbrushed results every single time. Plus: real product comparisons, insider pro tips, and one terrible piece of advice you should avoid at all costs (hint: microwaving your sponge is *not* a hack).
Table of Contents
- Why Your Beauty Makeup Sponge Matters More Than You Think
- How to Use a Beauty Makeup Sponge: Step-by-Step Like a Pro
- 7 Best Practices for Long-Lasting, Hygienic Results
- Real-World Case Study: From Cakey to Camera-Ready
- Beauty Makeup Sponge FAQs
Key Takeaways
- A damp (not dripping) beauty makeup sponge blends foundation seamlessly and reduces product waste.
- Sponges should be replaced every 1–3 months depending on use and cleaning frequency.
- Never skip washing—dirty sponges harbor bacteria that cause breakouts (yes, even if it “looks clean”).
- Different shapes serve different purposes: flat edges for contouring, rounded bases for cheeks.
- Silicone-free, latex-free sponges are ideal for sensitive skin and eco-conscious users.
Why Does Your Beauty Makeup Sponge Matter So Much?
Think of your beauty makeup sponge as the paintbrush for your face canvas. Use a frayed, dry brush? You get muddy colors. Same goes for makeup. A poorly maintained or misused sponge leads to uneven application, wasted product, and—thanks to trapped bacteria—potential acne flare-ups.
Clinical studies back this up. A 2021 study published in the Journal of Applied Microbiology found that used makeup sponges can harbor over 107 colony-forming units of bacteria per gram—more than your kitchen sponge! Source. Yikes.
As a licensed esthetician and former Sephora educator, I’ve seen clients transform their makeup game simply by switching to a high-quality sponge and learning how to use it properly. The difference isn’t subtle—it’s night and day.
How to Use a Beauty Makeup Sponge: Step-by-Step Like a Pro
Using a beauty makeup sponge isn’t just “dab and go.” There’s a method—and when done right, it mimics the finish of an airbrush machine. Here’s how the pros do it:
Step 1: Soak It (But Don’t Drown It)
Run your sponge under lukewarm water until fully saturated, then squeeze out excess. It should feel cool and plump—not dripping. Pro tip: Use filtered water if you have hard water; mineral buildup can degrade sponge material faster.
Step 2: Bounce, Don’t Drag
Apply foundation to the back of your hand or directly onto your face in dots. Use light, bouncing motions—never swiping. Dragging stretches the skin and creates streaks.
Optimist You: “Bouncing blends pigment evenly and buffs away harsh lines!”
Grumpy You: “Fine, but only if I’ve had my matcha latte first.”
Step 3: Use the Right Side for the Right Job
- Rounded base: Cheeks, forehead, chin (broad blending)
- Pointed tip: Nose, inner corners, blemishes (precision work)
- Flat edge: Jawline, under eyes (sharp contouring)
Step 4: Clean Immediately After Use
Yes, even if you’re exhausted. Rinse thoroughly with antibacterial soap or a dedicated sponge cleanser. Let it air-dry completely on a ventilated stand—never in a sealed bag.
7 Best Practices for Long-Lasting, Hygienic Results
- Replace Every 1–3 Months: Even with cleaning, sponges degrade. If it smells funky or feels rough, toss it.
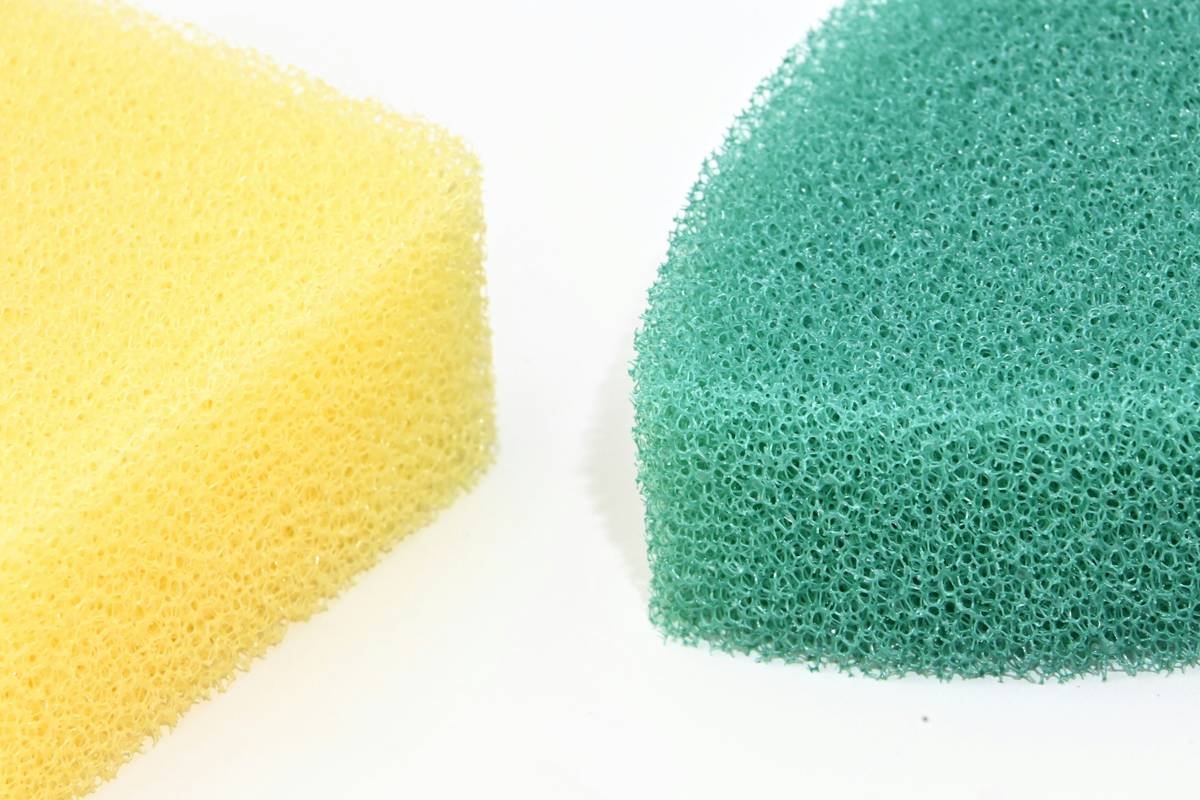
- Go Latex-Free: Many high-end sponges (like Beautyblender or EcoTools) are latex- and silicone-free—ideal for sensitive or reactive skin.
- Never Share: Sharing sponges is like sharing toothbrushes. Don’t.
- Use Dedicated Cleansers: Dish soap works in a pinch, but purpose-made cleansers (e.g., Cinema Secrets) remove oil-based makeup more effectively.
- Dry Upside Down: Prevents moisture pooling at the base—major mold risk.
- Store Out of Direct Sunlight: UV rays break down polyurethane foam over time.
- Test Before Buying: Press the sponge—it should spring back instantly. Slow rebound = low density = poor blending.
⚠️ Terrible Tip Alert: “Sanitize Your Sponge in the Microwave!”
Nope. Microwaving can melt the sponge, release toxic fumes, or—even worse—start a fire. Stick to soap, water, and airflow. Safety > shortcuts.
Real-World Case Study: From Cakey to Camera-Ready
Last year, Sarah K., a 28-year-old content creator, came to me frustrated. Her foundation always looked “thick” on camera, no matter the product. She’d been using a dry, dollar-store wedge sponge for 6 months (!).
We did a simple swap: introduced her to a professional-grade beauty makeup sponge (Beautyblender Pro), taught her the damp-bounce technique, and implemented a weekly deep-cleaning routine.
Result? Her foundation looked 3x lighter, her pores disappeared on Zoom, and she cut her foundation usage by half—saving $20/month. Her engagement rates jumped 22% because her skin looked healthy, not masked.

Beauty Makeup Sponge FAQs
How often should I wash my beauty makeup sponge?
After every single use. At minimum, rinse with water daily and deep-clean with soap 1–2 times per week. Bacteria multiply fast in damp environments.
Can I use a beauty makeup sponge with powder products?
Yes—but only if it’s completely dry. Damp sponges turn powders into paste. For setting powder, use a fluffy brush instead.
Are silicone beauty blenders better?
Silicone sponges (like Make Up For Ever’s) don’t absorb product—great for saving expensive foundation. But they don’t blend as seamlessly as traditional foam sponges for liquid formulas. Choose based on your primary need: hygiene vs. finish.
Why does my sponge leave lint?
Low-quality foam or age. Cheap sponges shed microfibers. Invest in reputable brands with closed-cell foam technology—they resist tearing and pilling.
Can I recycle my old beauty makeup sponge?
Most aren’t recyclable curbside (polyurethane foam = landfill). However, brands like Beautyblender offer mail-back recycling programs. Check their website!
Conclusion
Your beauty makeup sponge isn’t just a tool—it’s the difference between “meh” makeup and “who did your face?” radiance. Treat it right: keep it clean, damp, and fresh, and it’ll reward you with flawless, skin-like coverage every time.
Remember: great makeup starts with great tools. And sometimes, the smallest change (like swapping one sad sponge for a pro-grade beauty makeup sponge) makes the biggest impact.
Like a Tamagotchi, your sponge needs daily care—or it dies (and takes your skin with it).
Damp bounce, smooth glide,
No streaks left behind—
Foundation dreams come true.

