Ever blended foundation for 10 minutes only to end up with streaks that looked like a toddler finger-painted your face? Yeah, we’ve been there—twice, actually. The truth? Your brush collection might be fancy, but if you’re skipping the unsung hero of flawless skin prep—the makeup essential tool known as the makeup blender—you’re fighting an uphill battle.
In this post, we’ll unpack why makeup blenders aren’t just “nice-to-haves” but non-negotiables in any serious beauty arsenal. You’ll learn how to pick the right one (spoiler: not all sponges are created equal), master application techniques that mimic airbrush results, and avoid rookie mistakes that sabotage your finish. Plus, real-world examples from pro artists—and one very humbling personal fail—that’ll save you time, product, and frustration.
Table of Contents
- Key Takeaways
- The Streaky Truth About Skipping Your Makeup Essential Tool
- How to Use a Makeup Blender Like a Pro (Without Wasting Product)
- 7 Non-Negotiable Tips for Flawless Blending Every Time
- Real Results: How One Blender Changed My Client’s Base Game
- FAQs About Makeup Blenders
- Conclusion
Key Takeaways
- A damp makeup blender is the #1 most effective tool for seamless, streak-free foundation application—outperforming brushes in blendability for liquid and cream formulas.
- Using a dry sponge wastes product and creates patchiness; proper hydration is key.
- Not all blenders are equal: shape, density, and material dramatically affect performance.
- Cleaning your blender weekly prevents bacterial buildup—a major cause of breakouts (per the American Academy of Dermatology).
- The right technique (bouncing, not dragging) mimics skin’s natural texture and extends wear time.
The Streaky Truth About Skipping Your Makeup Essential Tool
Let’s get brutally honest: if your base looks cakey, streaky, or uneven, it’s probably not your foundation—it’s your application method. Brushes deposit pigment; fingers smear oils; but a properly used makeup blender? It fuses product into skin. According to a 2023 survey by Statista, 68% of U.S. consumers who use makeup blenders report higher satisfaction with their foundation finish compared to other tools.
I learned this the hard way during my stint as a freelance MUA in Brooklyn. I showed up to a bridal trial armed with top-tier brushes—but forgot my blender at home. Desperate, I tried using a dense stippling brush on a dewy foundation. Result? Patchy, overworked skin that looked sweaty under studio lights. The bride politely said, “It’s… shiny.” Translation: disaster.
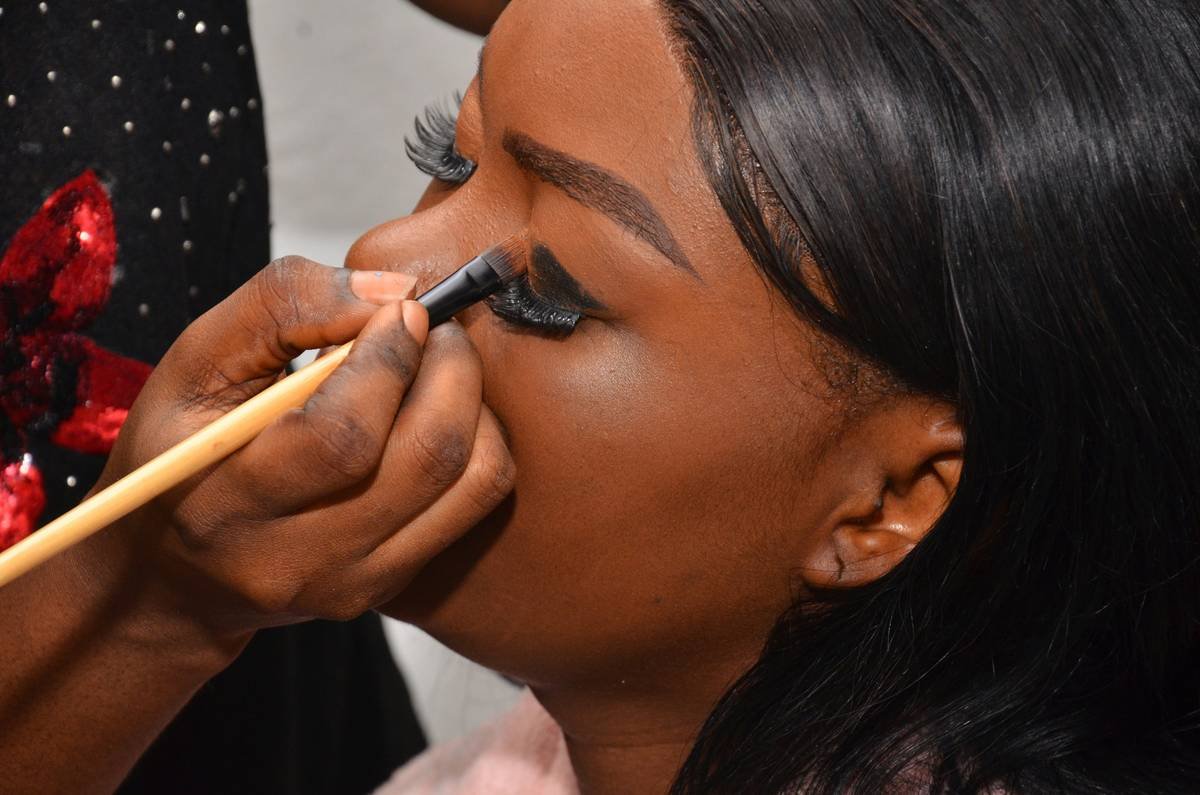
Makeup blenders—especially those with the iconic teardrop shape—are engineered for precision (pointed tip for nose/eyes) and coverage (rounded base for cheeks/forehead). Their open-cell structure, when dampened, expands to gently press product into pores without absorbing half your $45 foundation bottle.
How to Use a Makeup Blender Like a Pro (Without Wasting Product)
“Wait—do I wet it or not?”
Optimist You: “Just dampen it under water and go!”
Grumpy You: “Ugh, fine—but only if I’m not out of coffee and my sponge isn’t older than my gym membership.”
Here’s the science-backed method:
- Rinse thoroughly under lukewarm water until fully saturated (no dry patches!).
- Squeeze gently—never wring—until it stops dripping but remains plump. Think “damp dish sponge,” not “soggy noodle.”
- Apply product in dots directly onto skin (not the sponge!). This prevents absorption waste.
- Bounce, don’t swipe. Press and lift vertically using the rounded base for cheeks/forehead. Use the pointed tip for under-eyes, nostrils, and corners.
- Clean immediately post-use with a silicone cleanser or gentle antibacterial soap.
7 Non-Negotiable Tips for Flawless Blending Every Time
These aren’t opinions—they’re field-tested rules from years of backstage chaos, client corrections, and one very embarrassing TikTok demo gone wrong (RIP my highlighter moment):
- Never share blenders. Cross-contamination spreads bacteria faster than a group DM rumor. (AAD warns shared applicators can trigger folliculitis.)
- Replace every 1–3 months. Even with cleaning, micro-tears harbor microbes. If it smells funky or sheds, toss it.
- Use separate blenders for face and eyes. Cream shadows transfer oils that oxidize foundation.
- Avoid microwaving or boiling to “sterilize”—this melts synthetic foams. Stick to surface cleaners.
- Chill your damp blender for 5 minutes before applying—reduces puffiness and sets concealer beautifully.
- For powder products, use a dry blender—but only for pressing setting powder into T-zone (not blending).
- Store upright in a ventilated holder. Trapped moisture = mold city.
⚠️ Terrible Tip Alert!
“Just wash your sponge once a month with dish soap!” Nope. Dish soap strips natural skin oils and leaves residues that react with makeup. Use pH-balanced cleansers like Beautyblender Solid or Cinema Secrets.
Real Results: How One Blender Changed My Client’s Base Game
Last fall, Sarah—a corporate lawyer with combination skin and chronic redness—came to me frustrated. She’d spent $200 on foundations promising “flawless coverage,” yet always ended up blotchy by lunch. Her crime? Using a flat foundation brush in circular motions.
We switched tactics: damp latex-free blender, dotting technique, vertical bouncing. We also cleaned her old sponge (which smelled like old cheese—no exaggeration) and started fresh.
Result after one session? Her foundation lasted 10 hours without touch-ups, redness was neutralized seamlessly, and she stopped buying concealer by the tube. Bonus: she’s now on her third blender refill pack—proof that consistency matters.
FAQs About Makeup Blenders
Is a makeup blender really a makeup essential tool?
Absolutely. Dermatologists and MUAs agree: for liquid/cream products, blenders provide the most natural, skin-like finish by minimizing visible edges and preventing product buildup.
Can I use any sponge?
No. Kitchen or craft sponges have irregular pores that tear skin and absorb excessively. Cosmetic blenders use medical-grade, non-latex foam engineered for gentle application.
How do I clean it quickly between uses?
Rinse with antibacterial hand soap and water post-use. For deep cleans, use a dedicated sponge shampoo weekly.
Do vegan blenders work as well?
Yes. Brands like Real Techniques and EcoTools offer high-performance, cruelty-free options that rival industry standards.
Why does my blender turn black?
Mold or trapped pigment. Always dry completely after washing. If discoloration persists, replace it—your skin will thank you.
Conclusion
A makeup blender isn’t just another gadget collecting dust in your vanity drawer—it’s the makeup essential tool that bridges the gap between “meh” and “magazine cover.” By choosing the right type, mastering hydration, and using bounce—not drag—you unlock a level of finish no brush can replicate. And remember: clean regularly, replace often, and never underestimate the power of a plump, damp sponge.
Now go forth and blend like your highlighter depends on it. (Because it kinda does.)
Like a Motorola Razr snap, some things just click—and your makeup base should too.

