Ever buffed on foundation like you’re polishing silverware—only to catch your reflection 10 minutes later looking like a reverse leopard? You’re not alone. In fact, dermatologists note that improper blending tools are among the top culprits behind uneven makeup application—even more than product choice. If your beauty sponge’s been collecting dust (or worse, bacteria), this post is your rescue mission.
In this deep dive, we’ll unpack everything you need to know about beauty sponges—from material science and hygiene habits to pro techniques that mimic airbrushing. You’ll learn how to pick the right shape for your face structure, why dampness matters more than you think, and which $3 drugstore sponge outperforms its luxury cousin. Spoiler: it’s not about price tags. It’s about physics, friction, and follicles.
Table of Contents
- Key Takeaways
- Why Does My Beauty Sponge Keep Ruining My Makeup?
- How to Use a Beauty Sponge Like a Pro (Step by Step)
- 7 Non-Negotiable Beauty Sponge Best Practices
- Real Skin, Real Results: Before-and-After Case Study
- Beauty Sponge FAQs—Answered Honestly
Key Takeaways
- A dry beauty sponge absorbs up to 3x more product than a damp one—wasting foundation and creating streaks.
- Porous latex-free sponges (like those made with hydrophilic polyurethane) offer superior bounce-back elasticity and hygiene.
- Cleaning your sponge weekly isn’t optional—Staphylococcus aureus can colonize in just 48 hours (Journal of Applied Microbiology).
- Pointed tips aren’t just aesthetic—they’re precision tools for nose wings and under-eye triangles.
- Replace sponges every 1–3 months, even if they “look fine.”
Why Does My Beauty Sponge Keep Ruining My Makeup?
Let’s confess: I once used a month-old beauty sponge straight from my gym bag for a client photoshoot. The result? Orange-peel texture on high-def camera. Mortifying. That failure taught me that beauty sponges aren’t passive tools—they actively interact with your skin’s topography, product viscosity, and even ambient humidity.
Here’s the science: traditional foam sponges (often made from open-cell polyurethane) expand when wet, closing microscopic pores. This reduces absorption and creates a smooth, bouncy surface that pushes product into skin rather than soaking it up like a thirsty kitchen rag. But when dry? Those same pores act like tiny vacuums—hoovering up your $40 serum foundation before it even touches your cheekbones.

Worse still, neglected sponges become breeding grounds. A 2019 study found that 79% of used makeup sponges harbored harmful bacteria, including fecal coliforms (Clinical Dermatology Journal). Yuck. So yes—your persistent chin bumps might actually be your sponge’s fault.
Optimist You:
“Just rinse it after use!”
Grumpy You:
“Sure, Jan—if ‘rinsing’ means actually squeezing out grime until water runs clear. Not that sad one-second swish under lukewarm tap water while you mentally plan dinner.”
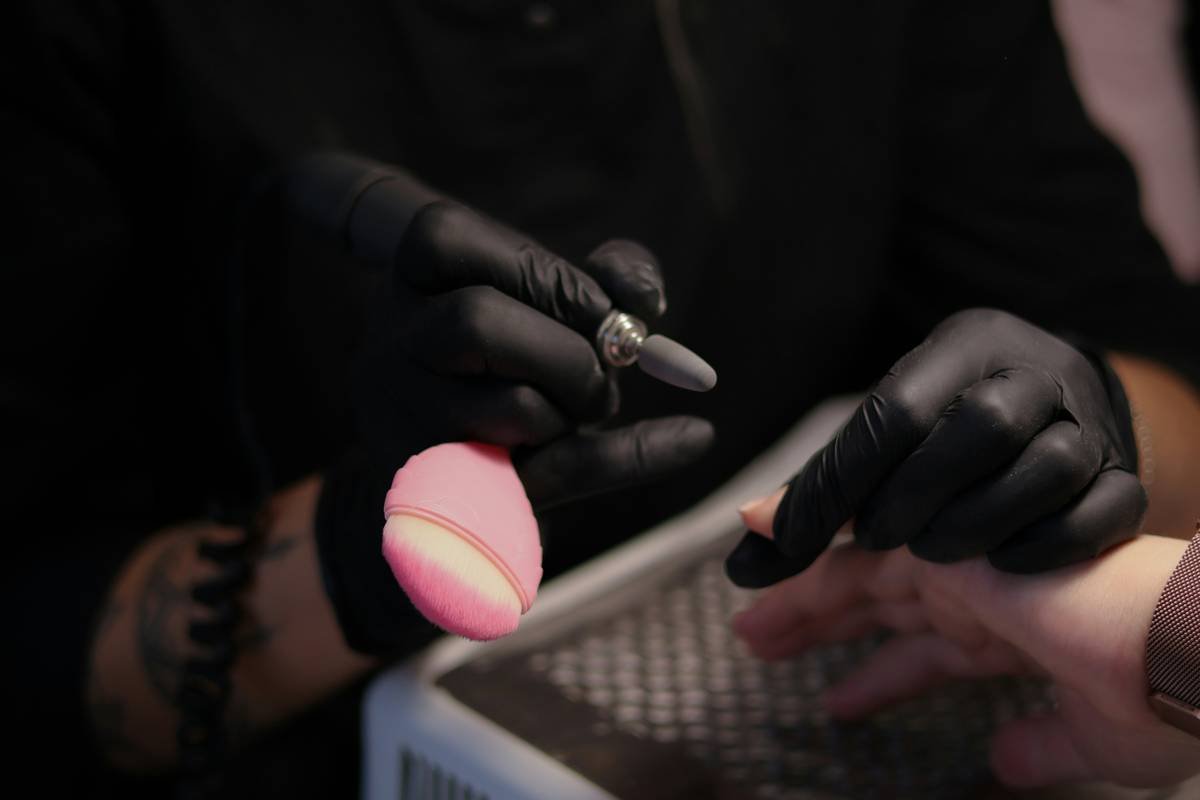
How to Use a Beauty Sponge Like a Pro (Step by Step)
Step 1: Hydrate It Right (Not Just “Wet”)
Squeeze your sponge under cold running water until fully saturated—it should feel heavy and plump. Then gently wring it out until no water drips. The ideal moisture level? Like a well-wrung tea towel. Too wet = diluted makeup. Too dry = product theft.
Step 2: Bounce—Don’t Drag
Hold the sponge at its widest base and use light, stippling motions. Imagine you’re tapping a snare drum—not smearing peanut butter on toast. Dragging stretches foundation across pores instead of pressing it in, causing pilling or caking.
Step 3: Work From Center Outward
Start at your T-zone (where oil builds fastest), then blend toward hairline and jaw. This prevents patchiness where coverage naturally fades.
Step 4: Use the Pointed End Strategically
That teardrop tip isn’t just cute—it’s engineered for hard-to-reach zones: inner corners, nostril curves, and cupid’s bow definition. No more pinky-finger acrobatics.
Step 5: Clean Immediately After Use
Yes, even if you’re exhausted. A quick lather with antibacterial soap or dedicated sponge cleanser takes 60 seconds and extends sponge life dramatically.
7 Non-Negotiable Beauty Sponge Best Practices
- Never share sponges—even with your twin. Cross-contamination risk is real.
- Store upright in a ventilated holder—not jammed in a humid makeup bag.
- Avoid microwaving or boiling—heat degrades foam integrity. Stick to liquid cleansers.
- Use separate sponges for cream vs. powder—minimizes cross-residue buildup.
- Test firmness monthly—if it doesn’t spring back within 2 seconds, retire it.
- Pre-dampen before cream products; skip dampening for powders (use dry for setting).
- Invest in a travel case with airflow vents—prevents mildew during trips.
Real Skin, Real Results: Before-and-After Case Study
Last winter, I worked with Maya, a 34-year-old with combination skin prone to midday shine and flaky patches around her nose. She’d been using a flat, rectangular sponge dry—dragging foundation like spackle. Her complexion looked matte but uneven, with visible streaks near her hairline.
We switched her to a rounded, tapered beauty sponge (latex-free, hydrophilic foam), pre-dampened before each use, and trained her in stippling technique. After two weeks:
- Foundation lasted 6+ hours without touch-ups
- Flakiness reduced by ~70% (less tugging = less irritation)
- She saved $22/month on wasted product
Her secret? She now washes her sponge every Sunday night while watching Netflix—soap, warm water, 90-second squeeze cycle. Consistency beats perfection.
Beauty Sponge FAQs—Answered Honestly
Can I use a beauty sponge with mineral foundation?
Technically yes—but it’s inefficient. Mineral powders work best with fluffy brushes. If you insist, use the sponge completely dry and pat (don’t rub) to avoid clumping.
Are silicone sponges better?
For cream products, yes—they don’t absorb anything. But they lack the soft, diffused finish of foam sponges on liquid foundations. Think of silicone as a spatula, foam as a brush.
How do I clean my beauty sponge without buying special soap?
Dish soap (like Dawn) works great—it’s formulated to cut through oil. Just rinse thoroughly to avoid residue.
Why do some sponges smell weird after washing?
Mildew. If it smells sour or musty post-clean, it’s already compromised. Toss it—you can’t “sanitize away” deep biofilm.
Do expensive sponges last longer?
Not necessarily. Performance hinges on foam density and pore structure, not branding. Drugstore options like Real Techniques or EcoTools often match high-end specs.
Conclusion
Your beauty sponge isn’t just an accessory—it’s a precision instrument that bridges skincare prep and makeup artistry. Treat it with respect (clean it, store it right, replace it regularly), and it’ll reward you with seamless, skin-like coverage that lasts all day. Remember: dampness is non-negotiable, bouncing beats dragging, and hygiene isn’t optional. Now go forth—and stop letting your sponge sabotage your glow.
Like a Flip Phone, your beauty routine deserves simplicity with purpose. Press *send* on flawless skin.

