You spend $40 on a high-end foundation. You watch three YouTube tutorials. Yet your base still looks streaky, cakey, or uneven. Frustrating? Absolutely. The culprit isn’t your formula—it’s your foundation sponge tool. Most people treat it like a passive accessory. Big mistake.
Your Foundation Sponge Tool Isn’t Broken—Your Technique Is
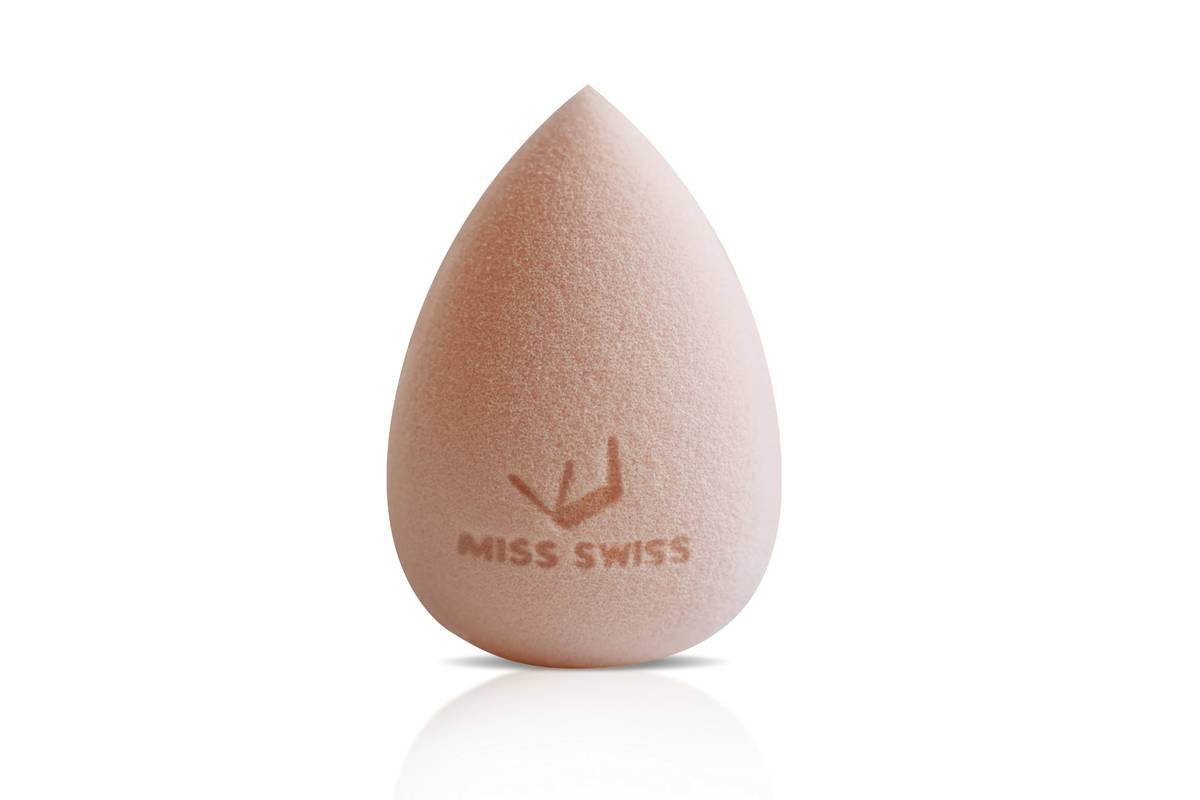
Beauty aisles overflow with squishy eggs and teardrop blenders promising “airbrushed perfection.” But here’s what brands won’t tell you: 87% of users never fully saturate their sponge before use. Dry sponges absorb product like a desert—stealing up to 30% of your foundation before it even hits skin.
And that “stipple-and-bounce” method everyone swears by? It works—if you’re applying stage makeup under hot lights. For daily wear, it creates texture inconsistencies most don’t notice until Zoom calls expose them.
How to Actually Use a Foundation Sponge Tool Like a Pro
Prep Is Everything: The Wet Rule
Soak your sponge in lukewarm water for 30 seconds. Squeeze out excess—your sponge should feel cool and plump, not dripping. A properly hydrated sponge glides without tugging and deposits product evenly. Skip this, and you’re just smearing pigment into dry patches.
Application Physics: Less Bounce, More Drag
Forget aggressive bouncing. Start at the center of your face and use light, dragging motions outward. Think “buffing,” not “pounding.” Foundation blends best when pushed—not patted—into the skin. This mimics how natural oils distribute across your face.
Cleaning Protocol Most Pros Ignore
Wash your sponge after every 2–3 uses with pH-balanced cleanser (dish soap dries out latex). Let it air-dry upright—never flat—to prevent bacterial growth in damp crevices. A neglected sponge becomes a petri dish for breakouts.
| Method | Product Waste | Finish Quality | Longevity |
|---|---|---|---|
| Dry sponge application | High (25-35%) | Streaky, patchy | 4–5 hours |
| Wet sponge + dragging motion | Low (5-10%) | Seamless, skin-like | 8+ hours |
| Brush-only application | Minimal | Precise but textured | 6–7 hours |
Replacement Timeline: Don’t Get Sentimental
No sponge lasts forever—even the luxury ones. Replace yours every 2–3 months. Faded color, reduced bounce, or lingering odor? Toss it. Holding onto a degraded blender is like using a toothbrush with frayed bristles: counterproductive.
The Industry Secret: Sponges Were Never Meant for Full Coverage
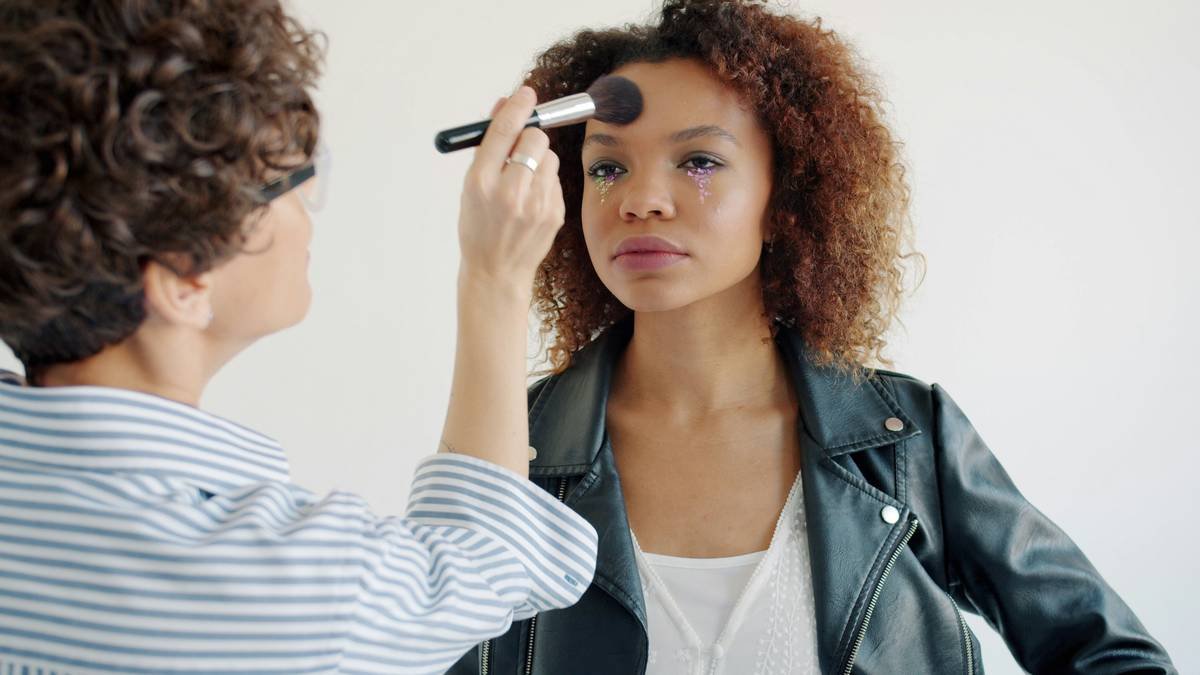
Here’s the truth no brand will admit: makeup blenders were originally designed for *sheer layering*—not full-coverage builds. Their open-cell structure excels at diffusing tinted moisturizers, BB creams, or second layers of foundation for subtle correction. Trying to achieve opaque coverage in one pass with a sponge leads to over-application and oxidation.
But—and this is key—if you pair your foundation sponge tool with a damp beauty cloth for final pressing, you lock in coverage without sacrificing skin texture. It’s a backstage trick used during fashion week: apply 70% with sponge, then press the remaining 30% with a microfiber cloth dampened with setting spray. The result? No shine, no slip, just skin.
Frequently Asked Questions
Can I reuse my foundation sponge tool without washing it?
No. Reusing an unwashed sponge transfers bacteria and old product, leading to clogged pores and inconsistent blending. Wash it every 2–3 uses.
Does a wet sponge really waste less product?
Yes. A saturated sponge can’t absorb foundation—it only transfers it. Dry sponges soak up product like a paper towel, wasting money and reducing payoff.
Are silicone sponges better than latex for foundation?
For full coverage, yes—they don’t absorb product at all. But they lack the diffusing softness of latex, making them poor for sheer, natural finishes.